Exterior Wall Renovation: What Really Costs More Is Not the Paint, but Rework
When people hear about exterior wall renovation, the first reaction is often simple:
“Can it be done a little cheaper?”
That is a normal question. Everyone wants to keep the budget under control.
But to be honest, in exterior wall renovation, the most expensive part is often not the material itself. It is rework.
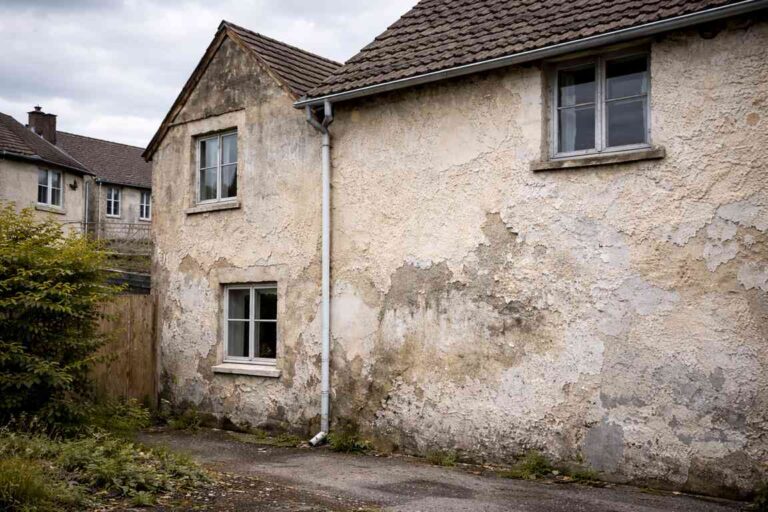
A few days ago, we were discussing an exterior wall renovation project for an older house. It was immediately clear that the wall problems had not developed overnight.
The conditions on site were quite typical:
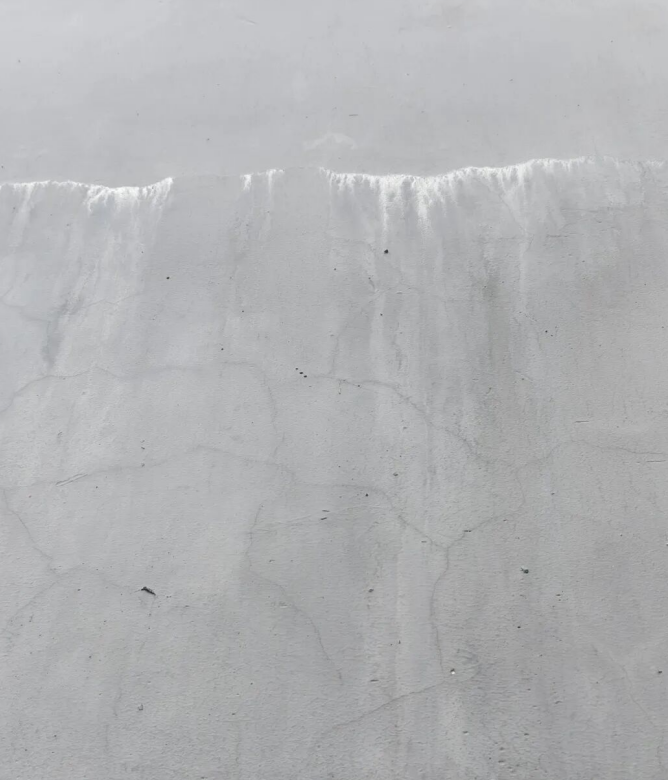
- aging substrate
- small cracks
- efflorescence
- dampness
- local peeling and detachment
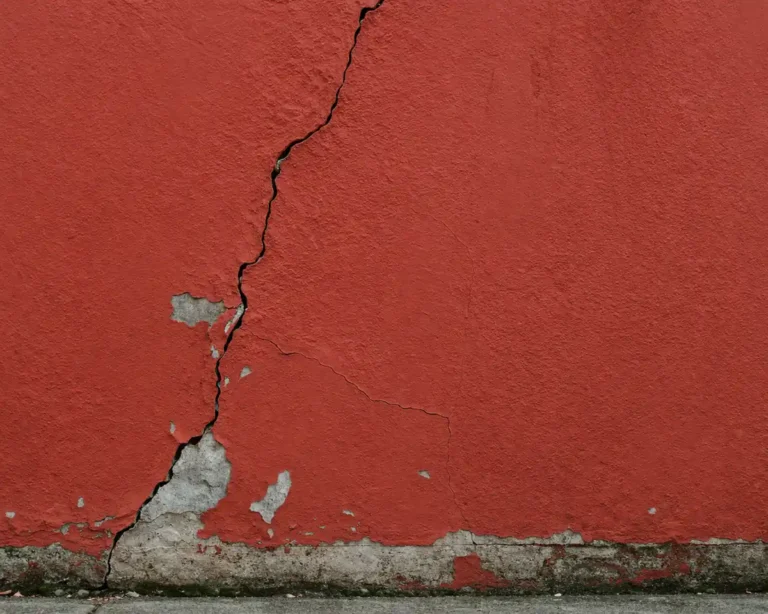
And to make things more difficult, it was also an existing red exterior wall.
Anyone familiar with this kind of work knows that red exterior walls have two obvious features:
One is that they can look very good.
The other is that color matching is not cheap.
That is why, in many exterior wall renovation projects, the real issue is not whether the wall can be repainted. The problem is whether the situation has been thought through clearly before the work starts.
In Exterior Wall Renovation, the Real Problem Is Often Not the Surface, but the Base Layer
At the beginning of this project, the first thing we did was not talk about price.
We first broke down the wall condition and explained the actual risks clearly.
Because with a wall like this, if you only repair the peeling parts and repaint over them, the coating may still go on, but it usually will not last very long.
The real issue is not on the surface. It is in the substrate.
For example:
- if cracks are not treated, they will usually reopen later
- if efflorescence is not sealed, even an expensive red finish may become patchy
- if moisture is not isolated, even a thick coating film may blister and peel later
In other words, in exterior wall renovation, the process always matters more than the color.
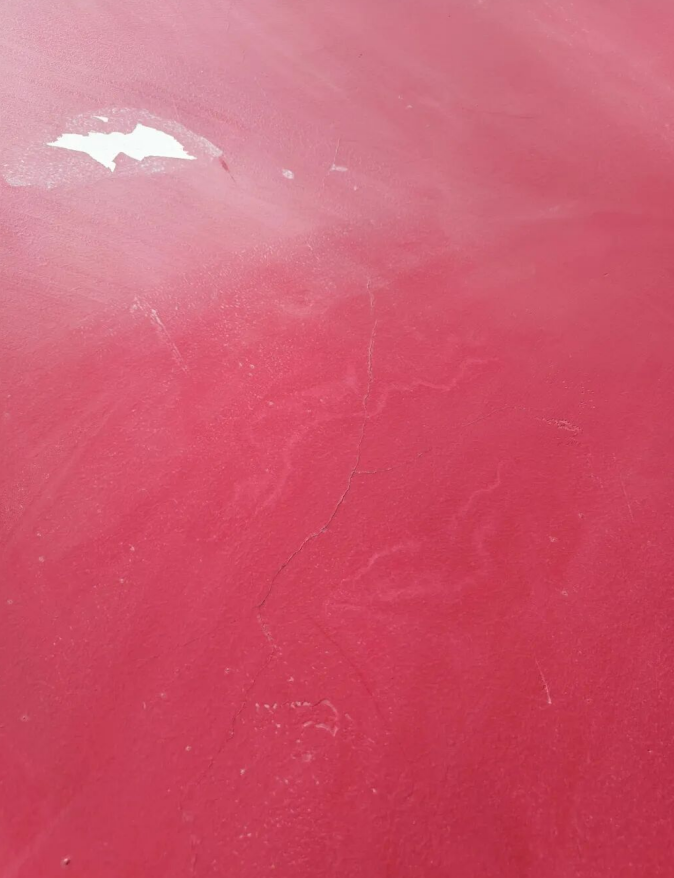
Red Exterior Walls Are Most Sensitive to Repair Marks and Color Difference
A red exterior wall is not impossible to renovate, but it definitely places higher demands on surface preparation and application.
This type of wall usually has two main risks.
1. Repair marks are very easy to notice
Red requires stronger hiding power and better color uniformity.
If the substrate is not prepared properly, or if touch-up work is done later, the repaired area can easily look like a visible patch.
2. Color matching is expensive, but the wrong part must not be cut
Yes, red pigment costs more.
But if the base layer is not handled well, the problem is no longer about saving money. It becomes a matter of using expensive paint to gamble on an unstable surface.
That is why the part that should not be reduced is usually not the color itself. It is the substrate treatment and primer sealing underneath.
A More Reliable Way to Handle Exterior Wall Renovation: Stabilize the Substrate First, Then Talk About Color
For this project, the basic recommendation was actually not complicated. It could be summarized in one sentence:
Stabilize the substrate first, then deal with the color.
The suggested steps were as follows:
1. Repair the cracked areas properly
Cracks should not simply be covered. They should be repaired in a targeted way first.
2. Treat all areas affected by efflorescence and dampness
If these issues are left untreated, it is very difficult to achieve a stable final finish.
3. Apply primer sealer on all repaired areas
Repaired areas absorb differently from the original wall. If primer sealing is skipped, color difference becomes much more likely later.
4. Apply the red topcoat across the whole surface at one time where possible
For deep colors like red, it is better to complete the finish in one overall application instead of patching sections later. The more patching there is, the more obvious the inconsistency becomes.
5. Confirm the color in one go
If the color is adjusted multiple times, the risk of mismatch increases. A one-time confirmed color is usually safer.
If you are comparing different finish options, you can also review Exterior Wall Paint before deciding on the final coating approach.
What Can Be Saved, and What Should Not Be Saved
Before the work moved forward, several key points were made clear in advance, including:
- how repaired areas would be blended
- what maintenance should be considered later
- which parts of the work could be adjusted for budget
- which parts should definitely not be reduced
In practice, clients can usually tell whether a recommendation is professional or not.
Exterior wall renovation does not mean every single part has to be done at the highest possible cost.
But there are some steps that should not be cut too much, such as:
- crack repair
- efflorescence treatment
- dampness treatment
- primer sealing
- full and consistent application on deep-colored walls
If these steps are skipped, the money saved at the beginning often comes back later in the form of rework.
If the wall also has long-term moisture or seepage issues, it is worth reviewing Waterproof Coatings together with the finishing system.
What Gives Real Peace of Mind Is Not Low Price, but Predictability
Once these points were explained clearly, the client did not spend much more time hesitating.
The quantities were confirmed the same day according to the process, and the adjusted color was shipped the next day.
In addition, a small amount of extra primer was also provided for the repaired areas.
The reason was simple: the repaired area was not large enough to justify ordering a full extra bucket, but this wall really did need primer.
If repaired sections are not sealed with primer, the repaired areas already tend to show a difference. Combined with different absorption rates, the color variation becomes even more noticeable and can strongly affect the final result.
So in exterior wall renovation, what really makes people feel secure is not just price. It is predictability.
Not “it can be painted anyway,” but:
after the work is finished, the wall should not need to be redone again in just a short time.
That is what people who truly want to do the job properly actually care about.
What to Check Before Starting Exterior Wall Renovation
Before starting an exterior wall renovation project, it is better to confirm the following points first:
- whether the wall has substrate aging
- whether there are cracks, efflorescence, or dampness
- whether local repair is enough or full renovation is already necessary
- whether repaired areas will be sealed with primer
- whether a dark-colored wall should be repainted as a whole
- whether an additional protective layer is needed for longer service life
If these points are clarified first, later decisions on material, process, and budget tend to be much more stable.
Final Thoughts
Exterior wall renovation may look like surface work, but the final result is usually decided by the substrate, the process, and the order of work.
This is especially true for older walls, red exterior walls, and surfaces with cracks, efflorescence, and dampness. In these cases, it is not enough to focus only on immediate cost.
Handle the substrate properly first.
Then decide on the color.
Then control the budget.
That is usually the more reliable way to do it.
It is not simply because red looks good.
It is because, this time, the wall was treated with the seriousness it actually needed.
FAQ
What is the biggest risk in exterior wall renovation?
The biggest risk is usually not the paint price itself, but leaving substrate problems untreated and having to redo the work later.
Why are red exterior walls harder to renovate?
Because red requires better hiding power, better uniformity, and more careful repair work. Patch marks and color differences are easier to see.
Why is primer necessary after repair?
Because repaired areas and original wall surfaces absorb differently. Without primer sealing, color difference and finish inconsistency are more likely.
Can I just repair the peeling spots and repaint them?
It may work temporarily, but if the substrate is already aged overall, spot repair usually does not last long.
How can exterior wall renovation reduce future rework?
By repairing cracks properly, treating efflorescence and dampness, sealing repaired areas with primer, and completing the finish in a more consistent way.